
Moving to a new home can be an exciting adventure, but the process of packing up your belongings and transporting them can often feel overwhelming. One of the key strategies to ensure a smooth and organized move is to create moving box labels that help you keep track of your possessions. Proper labeling not only makes it easier to locate items during unpacking but also helps prevent damage to fragile items and ensures that boxes are placed in the correct rooms upon arrival. For those in NYC, considering hiring a reputable moving company in NYC can ease much of the stress associated with the move. In this guide, we’ll explore how you can create effective moving box labels to streamline your moving process.
Why Labeling is Essential
Labeling your moving boxes serves several important purposes:
Organization: Clearly labeled boxes make it easy to identify the contents of each box, allowing you to prioritize unpacking and locate essential items quickly.
Protection: Proper labeling ensures that fragile items are handled with care and that boxes containing delicate items are stacked safely to prevent damage.
Efficiency: When boxes are labeled with their destination room, movers can quickly place them in the appropriate areas, saving time and effort during the unpacking process.
Steps to Create Moving Box Labels
Follow these steps to create effective moving box labels:
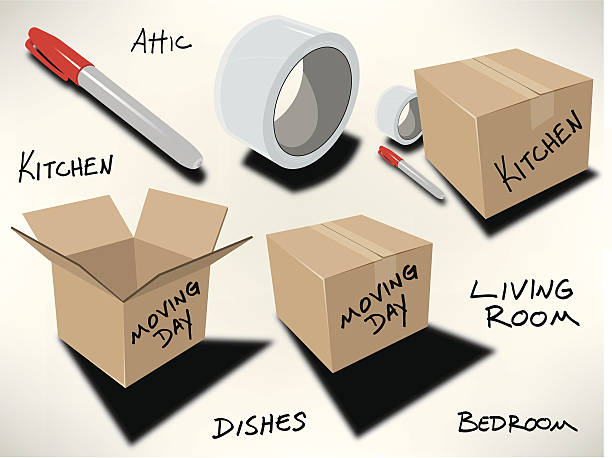
Gather Your Supplies: Before you start packing, gather the necessary supplies for labeling, including markers, stickers, colored tape, and labels.
Develop a System: Decide on a labeling system that works for you. You can use color-coding for different rooms, numerical labels for prioritizing boxes, or a combination of both.
Label Clearly: Write legibly on the labels or boxes using a permanent marker. Include information such as the contents of the box, the destination room, and any special instructions e.g. Fragile.
Color-Coding: Assign a specific color to each room in your new home (e.g., blue for the kitchen, red for the living room). Use colored tape or stickers to easily identify which room each box belongs to.
Prioritize Boxes: Number your boxes to prioritize unpacking. Start with essentials and frequently used items, labeling them with lower numbers, and save higher numbers for less urgent items.
Create a Master List: Keep a master list of all labeled boxes, either on paper or digitally. This will help you keep track of your belongings and ensure that nothing gets lost in transit.
Label Fragile Items: Clearly mark boxes containing fragile items with the word “Fragile” and use arrows to indicate which side should be kept upright.
Label Electronics: If you’re packing electronics, be sure to label the boxes containing them accordingly. Consider taking photos of cable connections before disconnecting devices to make setup easier later.
Seal Boxes Securely: Once a box is packed and labeled, seal it securely with packing tape to prevent items from shifting or falling out during transit.
Label Large Items: For oversized or irregularly shaped items that can’t be packed in boxes, use large labels or tape directly on the item to indicate its destination room.
Conclusion
Creating moving box labels is a simple yet effective way to maintain organization and efficiency during the moving process. By following these steps and implementing a labeling system that works for you, you can streamline your move, reduce stress, and ensure that your belongings arrive safely at your new home. Consider hiring a reputable moving company to assist with the packing and transportation of your items, further easing the transition to your new space.